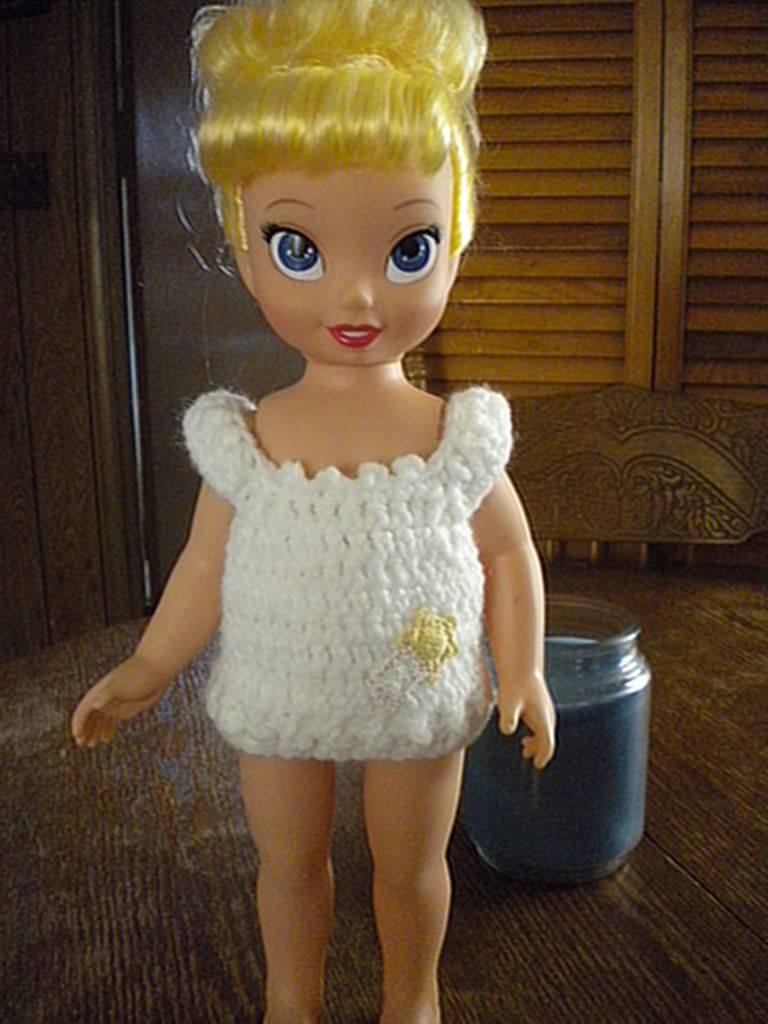
Hello all! Lately I've been super busy working on two different afghans, one for my wonderful cousin and the other a kit from Mary Maxim for my grandmother. They're both coming along great, but giant projects bore the crap out of me! I found some spare time to whip up this shirt for my daughter's Disney Princess Dolls. She has Belle and Tinkerbell, both given to her as gifts. She just turned 3 and dressing up her dolls is one of her new favourite things to do. Unfortunately, these dolls don't come with extra outfits. She just gets them both naked and switches their clothes for hours. I started feeling sorry for her lol. So far I just have this shirt done, but I hope to make a matching skirt or something to complete the outfit, and she has already requested a sweater and dresses and purses, what have I gotten myself into??
This pattern is
copyrighted. You can sell items made from this pattern. DO NOT sell this pattern or claim it as your own. DO NOT use my pictures without my permission. Please feel free to link to this page. Please respect the hard work it takes to figure out a pattern and please respect my generosity in sharing it with you. Thanks.
Summer Wishes Shirt
by Connie Stieler
Fits 15" doll
Materials
Worsted Weight Yarn ( I used Red Heart Super Saver)
Hooks sized E, F
small button
yarn needle
Special Stitches
Extended Single Crochet ( ESC )
Insert hook in to stitch indicated, YO pull through. YO pull through 1 loop, YO pull through remaining loops on hook.
**Please note that this pattern has only been used by myself. If you notice an error, please email or leave a comment so I may fix it, thanks!**
(Ch 2 counts as 1st st)
Using smaller hook, ch 40 * leave a good tail length for sewing back seam *
R1) Dc in 2nd ch from hook, and in each across (38 dc)
R2) Ch 2, turn. FPDC around 1st dc. BPDC around next dc. Continue this pattern until the end of the row.
Switch to larger hook.
R3) Ch 2, turn. ESC across row.
*rep last row until piece measures 2 1/2 ",
not including the ribbing
* For me, this took 6 rows total.
Ch 2, turn. ESC in next 5 st. Ch 16, skip 5 st, ESC in next st. Hdc2tog twice. ESC in next 8 st. Hdc2tog twice. ESC in next 16 st. Skip next 5 st. ESC in last 5 st.
Ch 2, turn. ESC in next 4 st. ESC entire ch, Hdc2tog twice. ESC in next 6 st. (This side is slightly longer for button placement)
Ch 2, turn. ESC in next 4 st. Hdc2tog 3 times. ESC in next 5 st. Hdc2tog 3 times. * Sc in next 2 st, ch 2 sl st through top of last sc * repeat 3 times more. End with 2 sc. Hdc2tog 3 times. ESC in next 5 st. Hdc2tog 3 times. Hdc2tog 3 times. ESC in next 4 st. Fasten off.
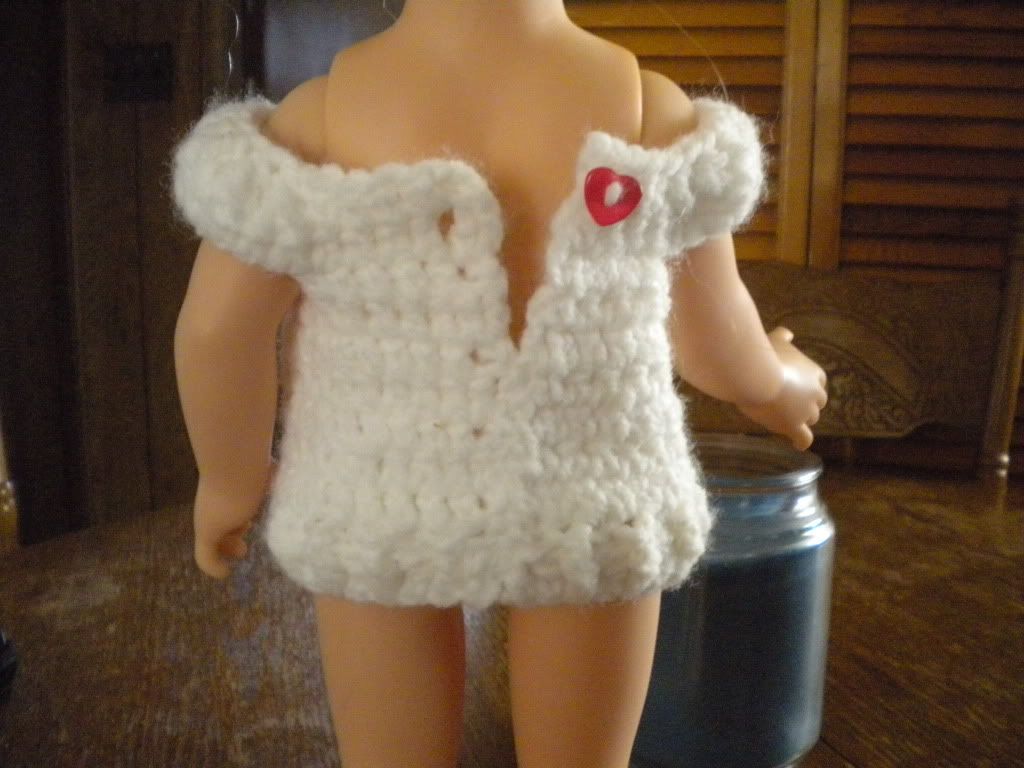
Seam the back of shirt, starting at the bottom working upwards. 7 rows should be seamed together.
Attach small button to the last row.
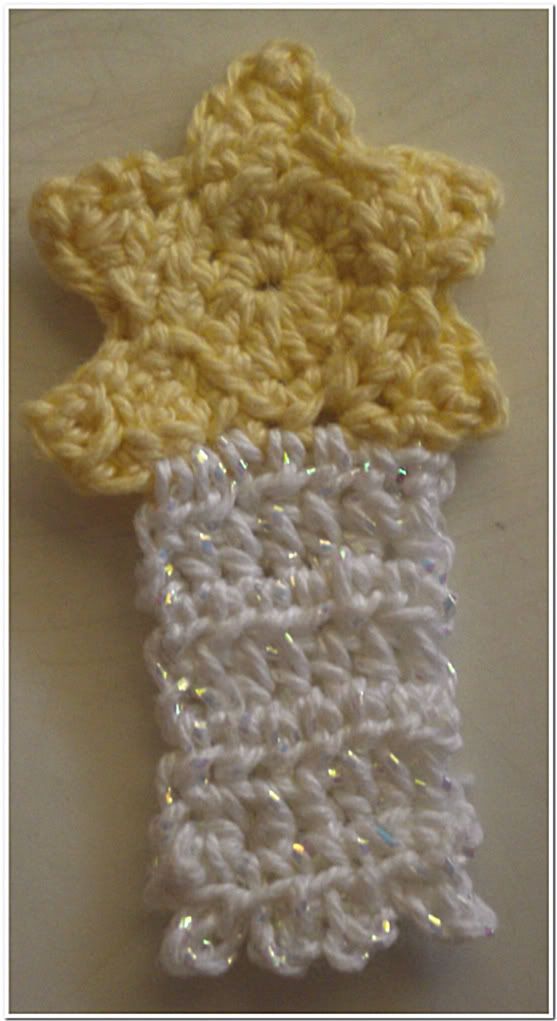
I made a shooting star applique for the front of the shirt. I will post a pattern for that and a better pic as soon as I can!
I made the sleeves loose so they can worn off the shoulder if desired. If you want a tighter sleeve, just adjust the length of chain made. Happy hooking!