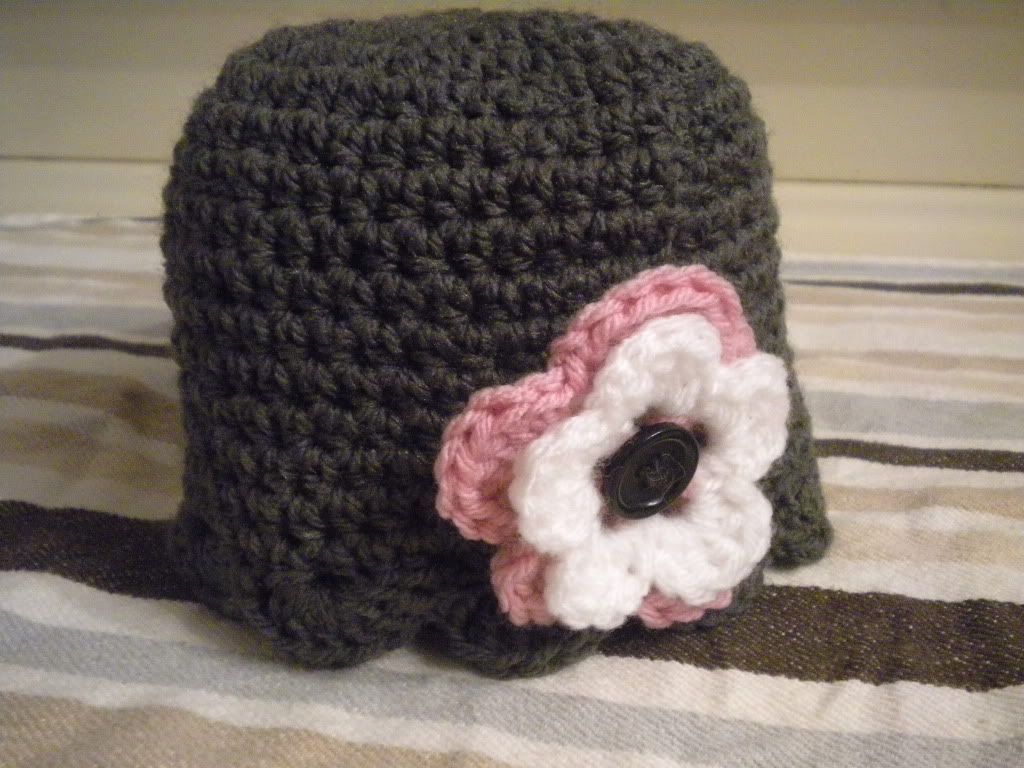
Button-Flower Beanie
by Connie Stieler
This pattern is copyrighted, please do not sell my pattern or claim as your own. Please do not post this pattern on another website/blog or other types of media without permission. Feel free to post a link to this page. For personal use only. Thank you for respecting this copyright.
Size:
6-9 months
Materials:
(Hat)
5.00 mm/H/hook
approximately 2.5-3 oz worsted weight yarn
(Button-Flower)
3/4" button
small amount worsted weight yarn in desired colours
Note: Ch 2 counts as 1st hdc of round. Join rounds with sl st unless otherwise stated.
Beginning with hat;
R1) Ch 3, 9 hdc in 3rd ch from hook, join to 1st hdc (10 hdc)
R2) Ch 2, hdc in same sp as ch 2, 2 hdc in each st around.(20 hdc)
R3) Ch 2, hdc in same sp as ch 2, (hdc in next st, 2 hdc in next st) around. (30 hdc)
R4) Ch 2, hdc in same sp as ch 2, (hdc in next 2 st, 2 hdc in next st) around. (40 hdc)
R5) Ch 2, hdc in same sp as ch 2, (hdc in next 3 st, 2 hdc in next st) around. (50 hdc)
R6-15) Ch 2, hdc in each st around.
R16) Ch 1, sc in same sp. Skip 1 st, 6dc in next st. (Skip 1 st, sc in next st, skip 1 st, 6 dc in next st)around. Finish off and weave in ends

*** If you want a larger hat, continue increasing after R5 by hdc in next 4 st, 2 hdc in next st, and so on until desired size. If you want a smaller hat, stop increasing after you have reached the desired size in R3-5.***
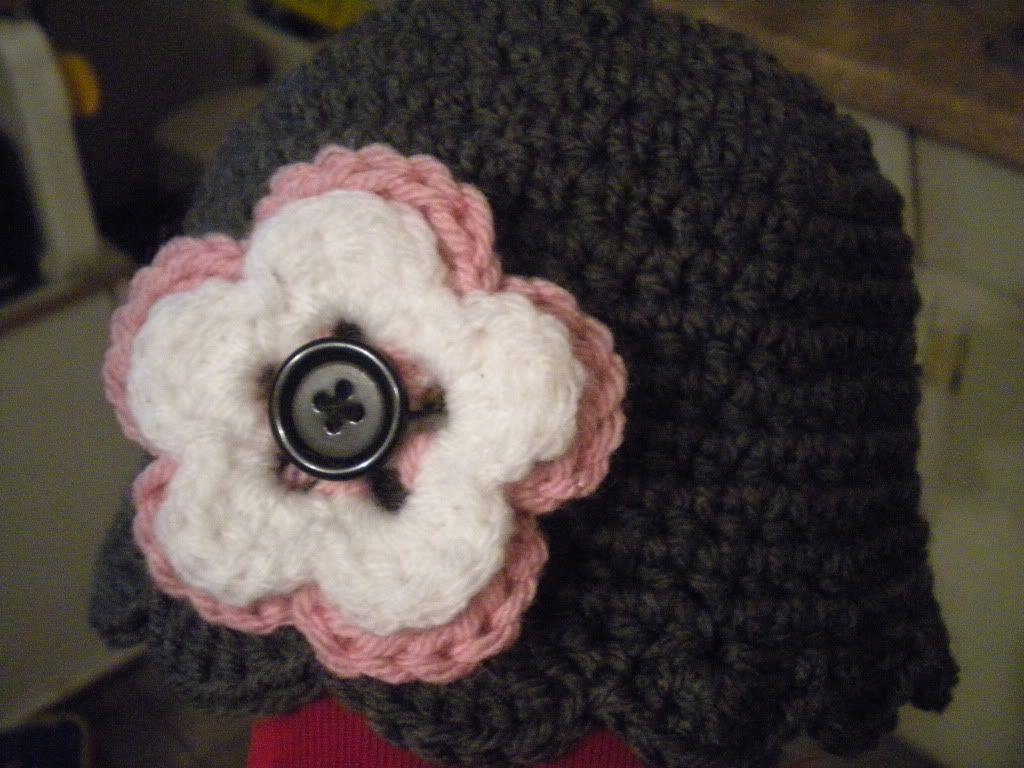
Button-Flower
Join rounds with sl st
Using desired center colour,
R1) Ch 4, join to form ring, (sc, ch 3, sc) 5 times.
R2) (Sc, ch 1, 3 dc, ch 1, sc) in each loop.
R3) Switching colours and working behind first row of petals, (sc around the 'spoke' or base of petal, ch 4) rep around.
R4) (Sc, ch 1, 5 dc, ch 1, sc) around. Fasten off after joining to first st.
Sew button to center of flower using coordinating colour, then sew flower to hat. I attached my flower to the beginning of rows 12 and 13, this hides your seam nicely!

