GRRRrrrrrrr!!!!! I am just so livid right now. I know no one cares, but I need to be heard! I am so sick of this economy. It has been 3 years since I have worked. I was on maternity leave up until 2 years ago. When I was pregnant for my first daughter I was so sick, I couldn't work more than a few days a week and my husband was continually laid off until the company he worked for shut their doors completely. So when I did go on mat leave, we had to get rid of our car, or live in it. Fast forward one year later, no car, hubby finally gets a new job. But since we have no transportation, I can't return to my job. But with hubby's job we were getting by. Fast forward to now, hubby is laid off once more, it's been about 5 weeks so far, but this is lay off number 3 this year. And they told us to expect to be off until after Christmas. We are still with no car because I cannot find a job in this dinky town. Before I was married I went to school and received my certification for Med Lab Technician. I was pregnant soon after and didn't get to write my licensing exam which costs around $200. Sooooo even though I have this awesome resume, I still cannot find a job...
The only solution that I can see is to move! We obviously aren't improving our lives by staying around here, but we need money and a vehicle to move, and we can't get a vehicle unless I have a job, and I can't get a job unless I have a vehicle. Do you see where I'm going with this? I just don't know what to do anymore. I am being sucked in to this horrible never ending circle. I have two little girls that deserve the whole universe, and I want to be able to give that to them. I am so lucky that they are so young, they won't remember these hard times when they are older. But I am stressing out in the mean time, not sure where to turn. I just wish some very friendly millionaire or some very friendly business owner might read this and help me because the universe sure isn't!!!! I would love to be a more talented designer so I could sell patterns or things that I have made or even be a pattern tester. I honestly could just go on and on and on...thanks for letting me bitch a little. I know I'm not the only one having hard times right now, but we all need to stick together and help each other out. I need to crochet something before I explode!!!! Hugs and stitches xxoxoxoxx
Friendship Mittens
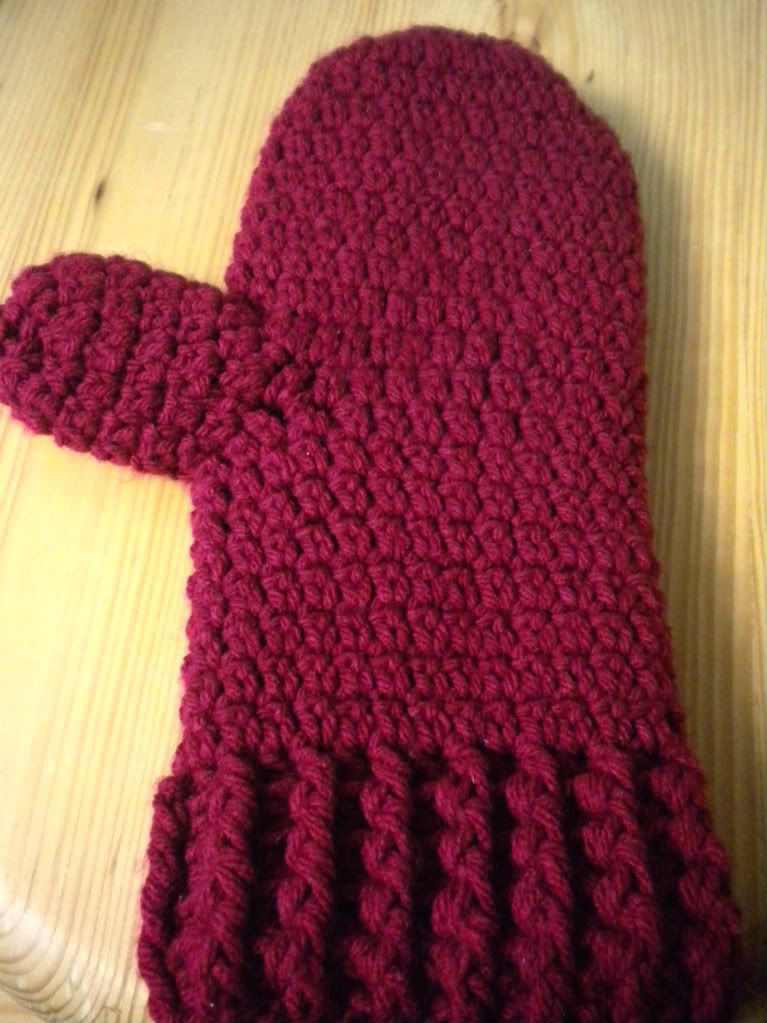
Ahhh, it's been too long again since I've posted! Time just seems to be flying away from me once more. Lately I've been scrambling to finish up some projects that have been on going for just way too long. Like the booby pillow for my brother-in-law. I was supposed to make it for his birthday in August!!! So far I have the actual pillow base complete. It's stuffed and sewn together. I have to make the boobies complete with baby bottle nipples. The problem is, I HATE the yarn I'm using. It is so unbelievably ROUGH. It actually rips the skin off my thumb after working with it for awhile. So I've been putting it aside for months. I really don't like having 'yarn thumb'. And with my thumb ripped apart, I can't crochet anything else. I know I'm disappointing him and it's bugging me to no end. I love making things for other people. So I am determined to get this stupid thing done by the end of the weekend!! Anyhoo, awhile back I finished my mittens to match my hat and scarf. This pattern was very interesting indeed. I had to learn 3 new stitches. Extended single crochet, foundation single crochet, and foundation double crochet. I really like the ESC, it gives you a nice dense fabric, but it still has some flexibility. The foundation stitches were a little difficult to understand at first. I plan on posting a tutorial on those later. Basically the foundation stitches give you the beginning chain and the first row of crochet at the same time, this way the beginning chain is just as elasticy as the rest of your piece. This is especially nice for garments because you don't get that tight feeling that the ordinary chain stitches give you. I really enjoy working with cables, so this was a perfect pattern for me!
They are very warm, and they fit great! The pattern can be found here Friendship Mittens . Until next time, happy hooking <3
And here is the palm side of the mitten.
Button-Flower Beanie
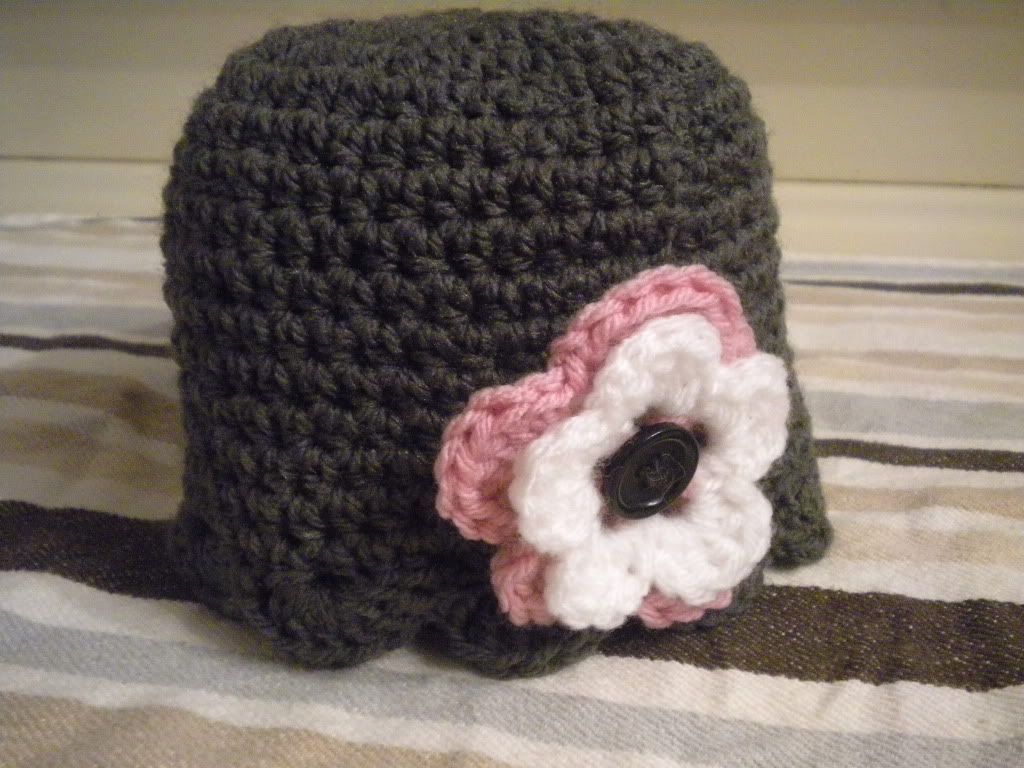
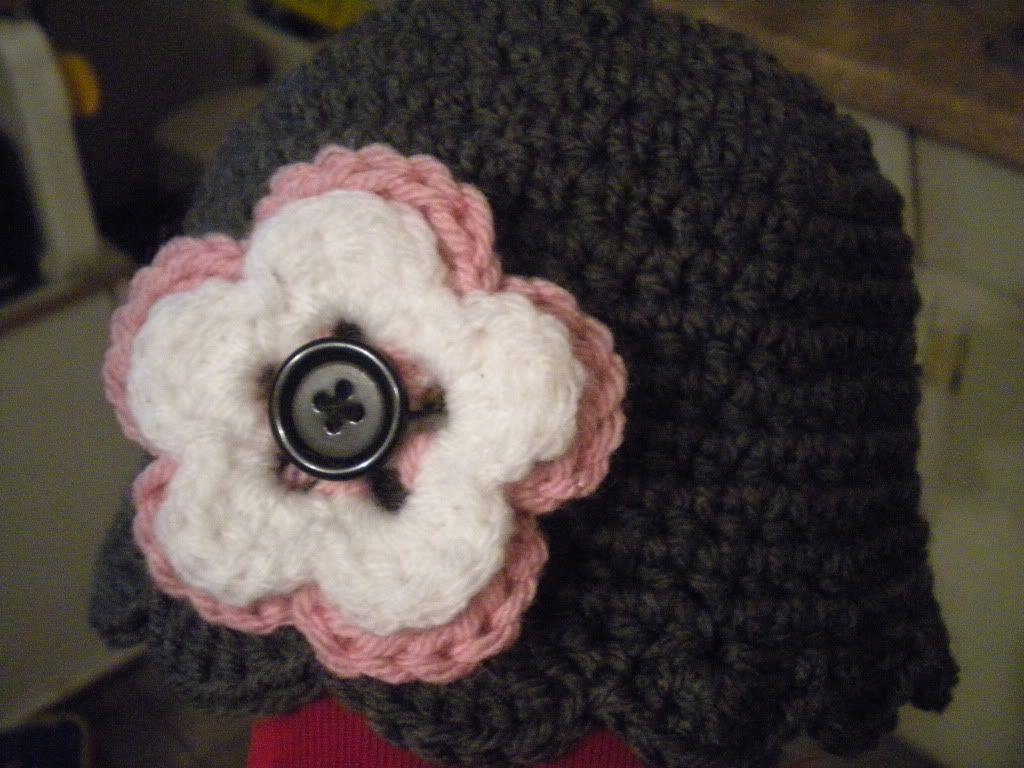
So last week I was feeling lethargic and robotic and much like a machine. As I'm sure most mother's do sometimes. When the girls were finally in bed I was happy to go through my stash of yarn and start creating. I realized that I hadn't made my youngest daughter a hat, and so I began. I really am so pleased with how this turned out. It's my first original hat pattern. It's a very simple pattern, and can be easily customized for larger or smaller sizes.
Button-Flower Beanie
by Connie Stieler
This pattern is copyrighted, please do not sell my pattern or claim as your own. Please do not post this pattern on another website/blog or other types of media without permission. Feel free to post a link to this page. For personal use only. Thank you for respecting this copyright.
Size:
6-9 months
Materials:
(Hat)
5.00 mm/H/hook
approximately 2.5-3 oz worsted weight yarn
(Button-Flower)
3/4" button
small amount worsted weight yarn in desired colours
Note: Ch 2 counts as 1st hdc of round. Join rounds with sl st unless otherwise stated.
Beginning with hat;
R1) Ch 3, 9 hdc in 3rd ch from hook, join to 1st hdc (10 hdc)
R2) Ch 2, hdc in same sp as ch 2, 2 hdc in each st around.(20 hdc)
R3) Ch 2, hdc in same sp as ch 2, (hdc in next st, 2 hdc in next st) around. (30 hdc)
R4) Ch 2, hdc in same sp as ch 2, (hdc in next 2 st, 2 hdc in next st) around. (40 hdc)
R5) Ch 2, hdc in same sp as ch 2, (hdc in next 3 st, 2 hdc in next st) around. (50 hdc)
R6-15) Ch 2, hdc in each st around.
R16) Ch 1, sc in same sp. Skip 1 st, 6dc in next st. (Skip 1 st, sc in next st, skip 1 st, 6 dc in next st)around. Finish off and weave in ends
*** If you want a larger hat, continue increasing after R5 by hdc in next 4 st, 2 hdc in next st, and so on until desired size. If you want a smaller hat, stop increasing after you have reached the desired size in R3-5.***
Button-Flower
Join rounds with sl st
Using desired center colour,
R1) Ch 4, join to form ring, (sc, ch 3, sc) 5 times.
R2) (Sc, ch 1, 3 dc, ch 1, sc) in each loop.
R3) Switching colours and working behind first row of petals, (sc around the 'spoke' or base of petal, ch 4) rep around.
R4) (Sc, ch 1, 5 dc, ch 1, sc) around. Fasten off after joining to first st.
Sew button to center of flower using coordinating colour, then sew flower to hat. I attached my flower to the beginning of rows 12 and 13, this hides your seam nicely!
Subscribe to:
Comments (Atom)


